I recently updated to Visual Studio 2019. After doing so I wondered what changes were implemented for Xamarin. This blog post will explain the experience I had getting a new project updated and running.
As of this writing I am using the following:
· Windows 10 Pro, version 1809
· Visual Studio Enterprise 2019, version 16.0.2
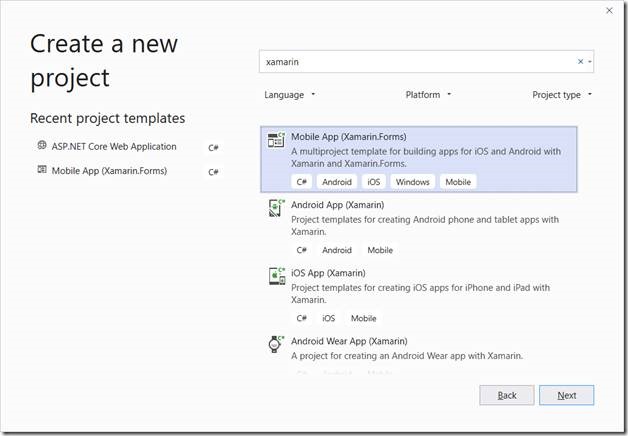
First, I started with a “Mobile App (Xamarin.Forms)”
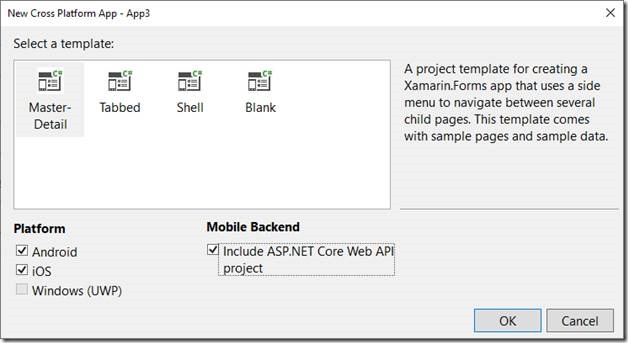
I selected a “Master-Detail” template and checked the “Mobile Backend” option.
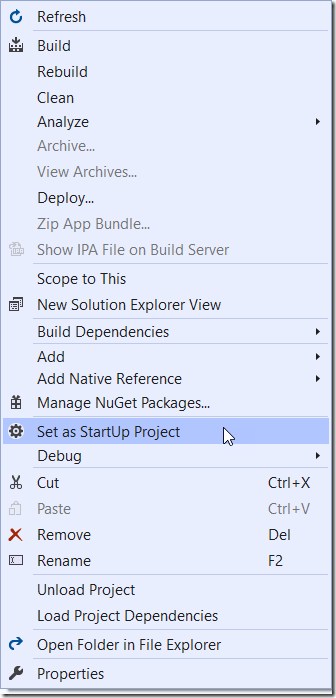
The project defaults to the Android application as your startup project. Pressing F5 the app builds, and deploys to my emulator as expected. So far so good. Let’s switch the startup project to the iOS project by right-clicking the iOS project and selecting “Set as StartUp Project” from the context menu.
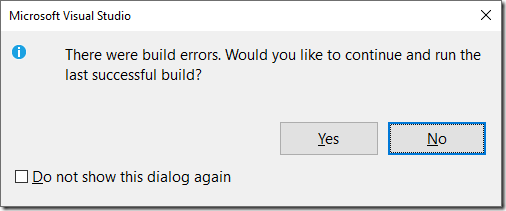
This time when I press F5 I am not as lucky. I get the following dialog.
Reviewing the error list, I see the following error:

I tried cleaning my project and several rebuilds but no luck. So, I decided to see if there were any updated packages that might help by right-clicking on my solution and selecting “Manage NuGet Packages for Solution…”
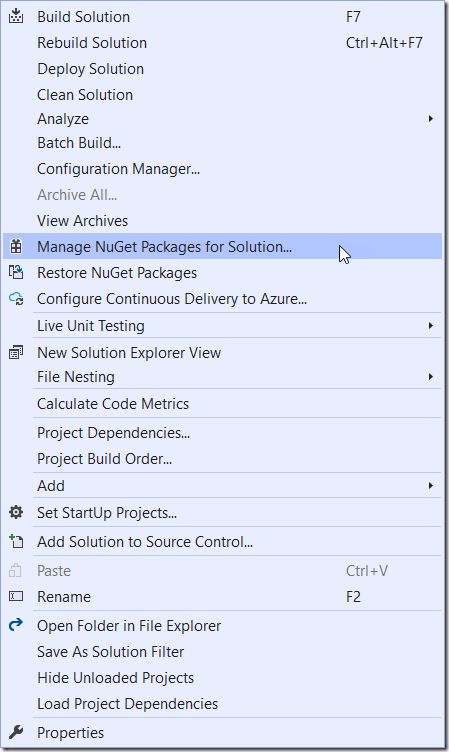
There I found there are 5 updates. So, I decide to install them all. Or should I say I tried to install them all. When I did, I got another error.

The error is for the MobileAppService project which I will deal with later. Therefore, I skip the “Microsoft.AspNetCore.All” package and install the other 4 updates. Now when I press F5 my iOS simulator starts and my application is deployed. Two down one to go.
Reviewing the error message, it appears the version of .NET Core my project is targeting is not compatible with the latest version of the NuGet package. That should be easy to fix. Simply right-click on the MobileAppService project and select “Properties”. There change the Target Framework to “.NET Core 2.2”.
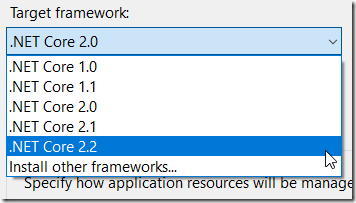
Save your changes. Now right-click on the solution and select “Manage NuGet Packages for Solution…” again. Attempt to update the remaining package again. The package installs but I now I get a warning!

After visiting https://aka.ms/sdkimplicitrefs it looks like I need to remove the version number. I can’t figure out how to do that from the UI so I will have to manually update the csproj file. To do this right-click on the MobileAppService project and select “Unload Project”.
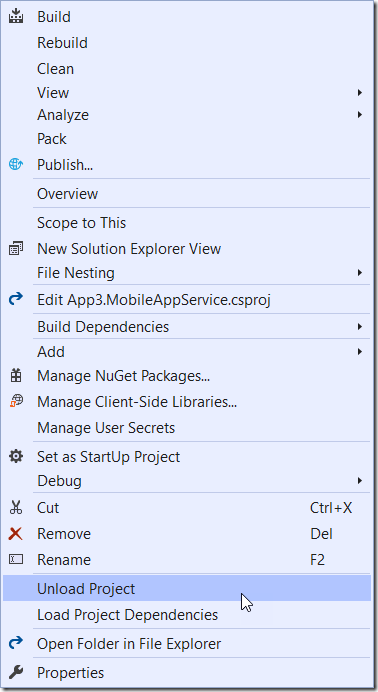
Once the project is unloaded right-click on it again and select the edit option.
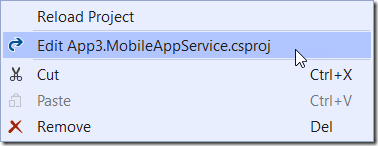
Find the line that has the package reference for “Microsoft.AspNetCore.All” and remove the version attribute and value.
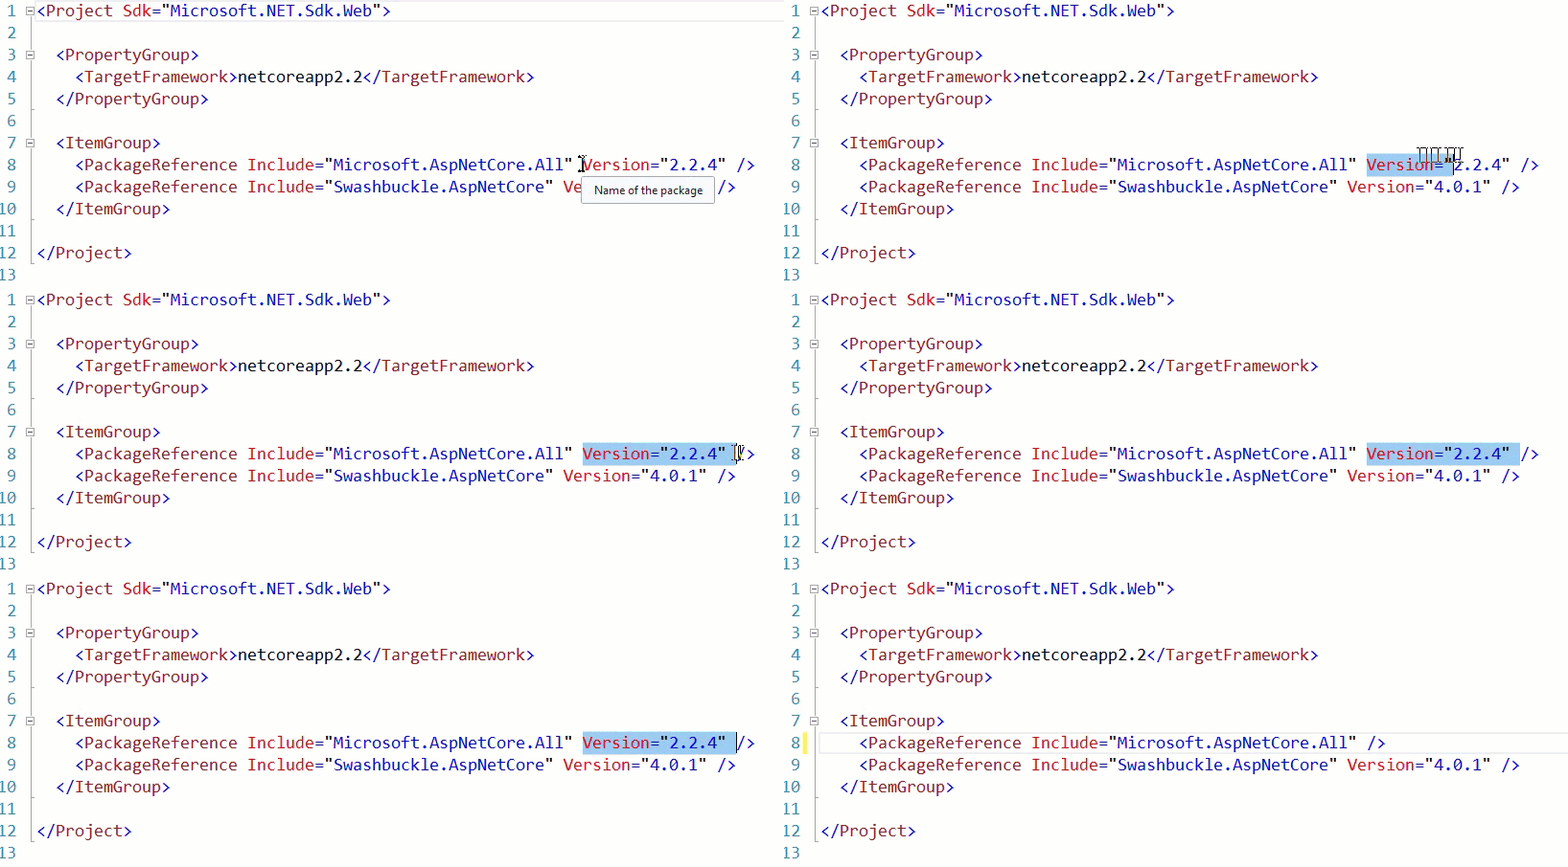
Save the file and right-click on the project and select “Reload Project”. Set the MobileAppService project as the startup project and press F5. The application runs now but I still have two warnings! The sample project is using obsolete methods to configure the logger. Opening Startup.cs of the MobileAppService project I see lines 44 and 45 have issues. The way you configure the logger has change a lot. This is most likely a result of updating to version 2.2 of .NET Core. So let’s fix this now.
Configuring your logger is done in the Configure Service method now instead of Configure. We can delete the “ILoggerFactory” parameter from Configure and lines 44 and 45. When you are done your Configure method should look like this.
// This method gets called by the runtime. Use this method to configure the HTTP request pipeline.
public void Configure(IApplicationBuilder app, IHostingEnvironment env)
{
   app.UseMvc();

   app.UseSwagger();
   app.UseSwaggerUI(c =>
   {
      c.SwaggerEndpoint("/swagger/v1/swagger.json", "My API V1");
   });

   app.Run(async (context) => await Task.Run(() => context.Response.Redirect("/swagger")));
}
Now we can configure your logger in the ConfigureServices method. After the call to services.AddSingleton add the following code.
services.AddLogging(logger =>
{
   logger.AddConsole();
   logger.AddDebug();

});
This will configure the logger for you. After all that I realized the logger is not even being used in the project! If we are going to configure it, we might as well use it. Open the “ItemController.cs” file in the Controllers folder.
We are going to add a private readonly field to hold our logger then use constructor dependency injection to set it.
Lines 12 to 17 should be changed to the following:
private readonly ILogger<ItemController> Logger;
private readonly IItemRepository ItemRepository;
public ItemController(IItemRepository itemRepository, ILogger<ItemController> logger)
{

   ItemRepository = itemRepository;
   Logger = logger;

}
You will also need to add a using statement for “Microsoft.Extensions.Logging;”. Now you can use the logger in your action methods to log important information.
You now have a fully functional starting point for your application.