Update: As of June 8, 2016 you no longer have to create your own build agent. dotnet.exe is now on the Hosted build agents.
With the release of ASP.NET Core RC2 today I wanted to start building those projects with Visual Studio Team Services. As of this writing, ASP.NET Core RC2 is not on the hosted build agents.

Therefore, to build them you will need to stand up a private build agent. I explained how to do that on Windows in Build Visual Basic 6.0 Applications with Visual Studio Team Services post. I will assume you have read that post and have a functioning build agent.
The first thing we need to do is add ASP.NET Core RC2 to our build agent.
- Remote into the build agent
- Download and install the command line tools for ASP.NET Core RC2 from https://www.microsoft.com/net/core#windows
With ASP.NET Core RC2 installed we are going to register it as a capability of this agent.
- Open Windows Explorer
- Right-click the PC node
- Select Properties
- Click the Advanced system settings link
- Click the Environment Variables… button
- Click New… under the System variables section
| Field | Value |
| Variable name | ASP.NET_Core |
| Variable value | RC2 |
Note that demands for build definitions do not support spaces in the names which is why I have _Core. - Click OK
- Click OK
- Click OK
Restart your agent so it can report ASP.NET Core as a capability. To confirm the new capability follow these steps:
- Log in to Visual Studio Team Services
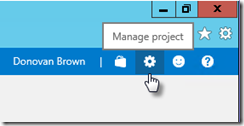
- Click the Manage project gear in the upper right-hand corner of the screen

- Click your account name

- Click Agent queues tab
- Click your agent name
- Click the Capabilities tab
- Verify ASP.NET Core is listed

With our build agent ready for ASP.NET Core RC2 projects, we can now create our build. You can use your agent machine or any other machine with the ASP.NET Core RC2 bits on it. Open a command prompt and type the following:
dotnet new
That will create two files: program.cs and project.json. Check those files into Visual Studio Team Services.
Now to the easy part: creating the build to compile our ASP.NET Core RC2 project.
- Click the Build hub
 in Visual Studio Team Services
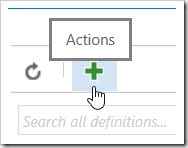
- Click the green plus
- Select the Empty template
- Click Next
- Select your repository
- Check the box for Continuous integration
- Select Default agent queue
- Click Create
With the build created, we need to add the required tasks.
- Click Add build step…
- Select the Utility category
- Click Add next to the Command Line task
- Click Add next to the Command Line task to add a second task
- Click Add next to the Copy and Publish Build Artifacts
- Click Close
- Select the first Command Line task
| Field |
Value |
| Tool |
dotnet |
| Arguments |
restore |
- Select the Command task
| Field |
Value |
| Tool |
dotnet |
| Arguments |
build |
- Select the Copy and Publish Build Artifacts task
| Field |
Value |
| Contents |
**/*.dll |
| Artifact Name |
drop |
| Artifact Type |
Server |
- Click General tab
- Click Add Demand
| Field |
Value |
| Name |
ASP.NET Core |
| Type |
equals |
| Value |
RC2 |

This makes sure that only the agent that has ASP.NET Core RC2 installed is selected to run this build.
- Click Save
- Name build
- Click OK
- Click Queue build…
- Click OK
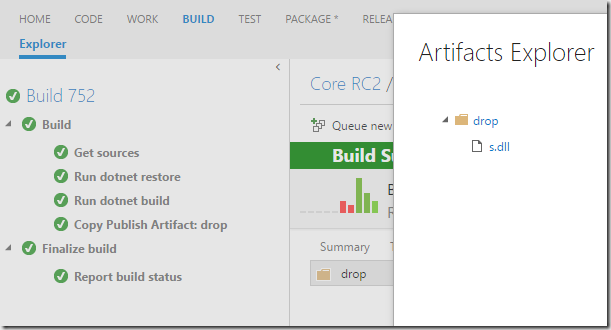
Once the build is done you can browse the artifact to see the DLL produced by the build.

You can use this technique to build any language using Visual Studio Team Services.