Azure Container Instances (ACI) is one of the hot new container offerings from Azure. As soon as I had time, I wanted to add ACI support to Yo Team and that day is finally here.
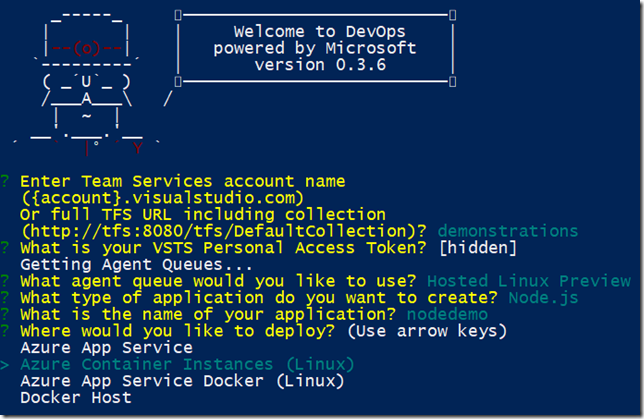
One of the reasons I wanted to write a blog post to announce ACI support is because you have to find the IP after the deployment. In this post I will show you how to find the IP using both the Azure Portal and the Azure CLI. The second reason was to describe the use case I had in mind. ACI is not designed to have the image that it is hosting updated. If you have a new version of your image you simply delete the current ACI and deploy a new one. This will create a new public IP. Therefore, the scenario is for Dev Test workloads. This will allow you to quickly see your image running but would not be the way you would host a production site. Let me be clear. I am not saying ACI cannot be used in production. I am saying the way Yo Team builds the project it is just for quick checks of your image off your box. To use ACI in production, see links in the resources section below.
How to find your public IP using the Azure Portal
- Log in to the Azure Portal
- Click on Resource Groups
- Select the Resource Group created by Yo Team ({appName}Dev)
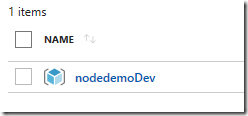
- Select the Container group

- On the Overview blade copy the IP address
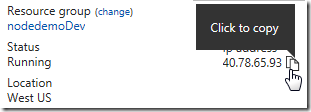
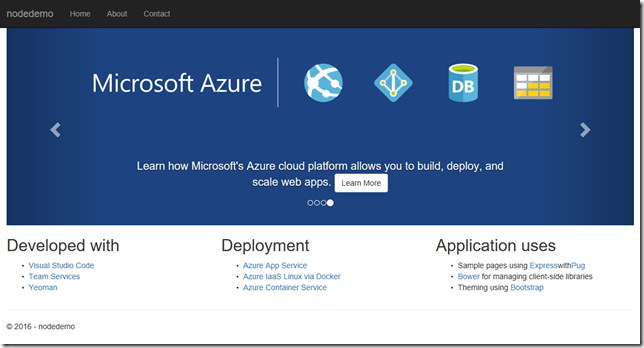
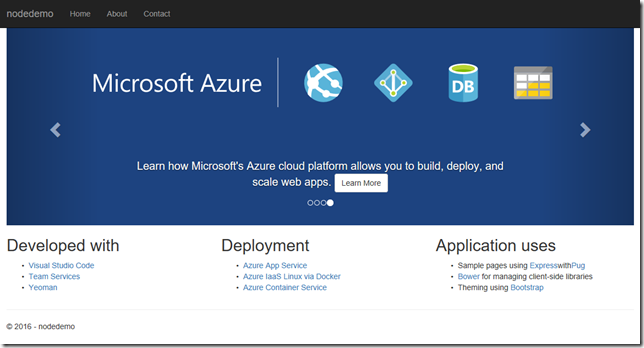
- Enter the IP into a web browser to see your running container
How to find your public IP using the Azure CLI
To follow along you can use it in your browser with Azure Cloud Shell, or you can install it on macOS, Linux, and Windows and run it from the command line.
- Log in
az login
- Find the container name
az container list -g {appName}dev -o table
- Copy the container name

- Find IP Address
az container show -n {appName}-{uniqueId} -g {appName}dev --query ipAddress.ip

- Enter the IP into a web browser to see your running container
Resources:
docs.Microsoft.com
Azure Friday: Azure Container Instances
Azure Friday: Using Kubernetes with Azure Container Instances
Tuesdays with Corey: Azure Container Instances