I have been writing a lot lately on Jenkins and how to integrate it with Visual Studio Team Services. The Jenkins server I used for those blog post was installed on a Azure Windows Server VM. Today I was curious if I could install Jenkins using an Azure Web App instead. This blog post will describe what I had to do to install Jenkins in an Azure Web App.
The first thing you need to do is create the Azure Web App in the Azure portal.
- Sign in to https://portal.azure.com/
- Click New
- Click Web + Mobile
- Click Web App
- Fill in the required values
- Click Create
Once the Web App is created, we have to configure it to support Java.
- Click Resource groups
- Click the resource group used when you created the Web App
- From the Resources list click the Web App
- From the Settings blade click Application settings
| Field | Value |
| Java version | Java 8 |
| Java Minor version | Newest |
| Web container | Newest Tomcat 8.0 |
| Platform | 64-bit |
- Add App setting
| Field | Value |
| Key | JENKINS_HOME |
| Value | d:\home\site\wwwroot\webapps\ROOT |
- Click Save
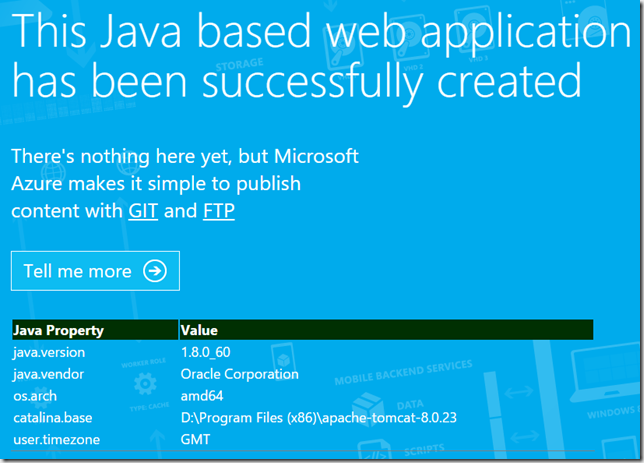
If you browse to the Web App, you should see the following:

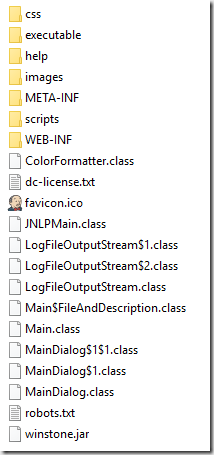
Now that the Web App is configured, we need to download the Jenkins War file from http://jenkins-ci.org/. Once you have the file downloaded, change the extension to .zip and extract the contents.

Now we simply need to FTP the files to the Azure Web App.
- Return to the Azure Portal and locate the Web App
- In the Essentials section, copy the FTP hostname

- Open Windows Explorer
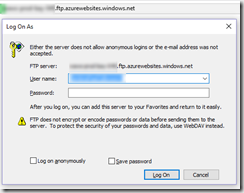
- Paste the value in the address bar

| Field | Value |
| User name: | {FTP/Deployment username} from Azure |
| Password: | {FTP/Deployment password} from Azure |
- Double-click site
- Double-click wwwroot
- Double-click webapps
- Double-click ROOT
- Delete all files in this folder
- Drag and Drop the extracted files into this folder
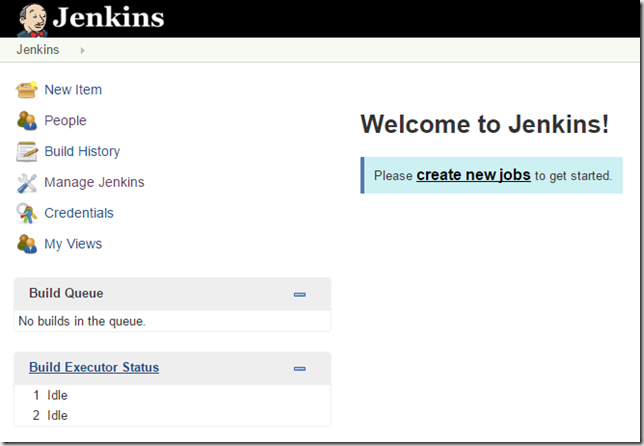
If you browse to the site after the files are uploaded, you will see the text below as Jenkins configures itself.

Once the configuration is done, you will have a fully functional Jenkins server running in an Azure Web App.

Now simply follow the instructions from the Jenkins site to configure security. I used the “Jenkins’ Own User Database” option.