SonarQube allows you
to track and manage your technical debt. At the center of a SonarQube
installation is the server which we will build in this post. The data for
SonarQube is stored in a database. SonarQube supports many different database
systems but for this post we are going to use Microsoft SQL Server running in a
VM in Azure.
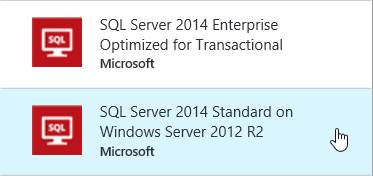
To begin we are going to create a Microsoft SQL Server VM in
Azure.
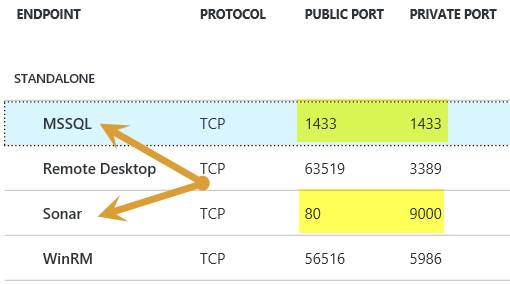
Next we need to open up a few endpoints on the VM so we can
have external access to SQL and the SonarQube server.
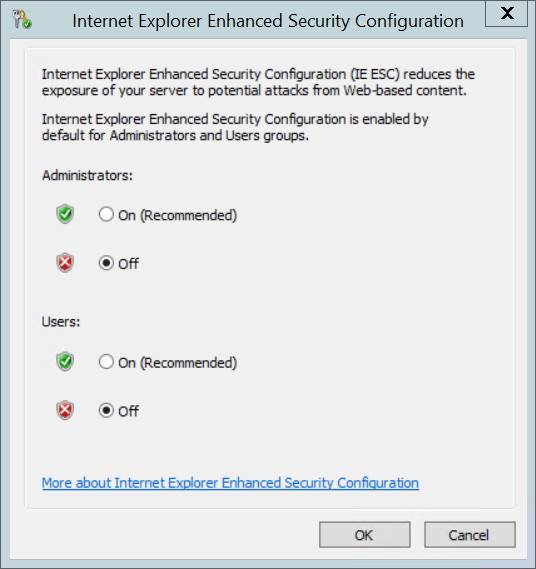
Now we need to connect to the Machine and configure SQL and
install SonarQube. Once you are connected to the VM do yourself a favor
and disable the Internet Explorer Enhanced Security Configuration.
Start Microsoft SQL Server Management Studio so we can
configure SQL Server. First we need to enable SQL Server
authentication. Right click the server node in the tree to the left and
select Properties. On the Server Properties dialog select Security from
the Select a page section. Click the radio button for SQL Server and
Windows Authentication mode and click OK.
We now need to add a user for connecting as the SonarQube
server. Expand the Security node in the left tree and right click on
Logins and select New Login. On the Login dialog enter SonarQube as the
Login name and select the SQL Server authentication radio button. Enter a
password and uncheck the Enforce password policy checkbox. From the
Select a page section click on Server Roles and check sysadmin and click OK.
Now we are going to create the target database for
SonarQube. Right click on Databases and select New Database. Give
the database a name and select Options so we can change the Collation.
For the database to work with SonarQube the Collation must be
Latin1_General_100_CS_AS. While we are here we can change the Recovery
model to Simple to improve performance.

For all of the security changes to take effect we need to
restart the SQL Server. To do this right click on the server node in the
tree to the left and select Restart. You can now close Microsoft SQL
Server Management Studio.
SonarQube relies on Java so we have to install Java on our
machine. You can download the latest version from http://www.oracle.com/technetwork/java/javase/downloads/jdk8-downloads-2133151.html.
Simply run the installer and accept all the default values. Be sure and
make a note of the Destination Folder so we can set the JAVA_HOME and update
the path environment variables. Once the installation is complete open
Windows Explorer and right click the PC node and select Properties. This will
open the System dialog. Click the Advanced system settings link.
Now click the Environment Variables button. In the System variables
section click New. The name of the new system variable will be JAVA_HOME
with a value of C:\Program Files\Java\jdk{YourVersion}. Replace
{YourVersion} with the version number of the JDK you have installed. In
the same System variables section double click the Path environment
variable. To the end of the value add ";%JAVA_HOME%" without the quotes.
Click OK until all dialogs are closed.
Now let's move on to installing SonarQube. First we
need to download the files from http://www.sonarqube.org/downloads/.
Once you have the files downloaded be sure and unblock the file.
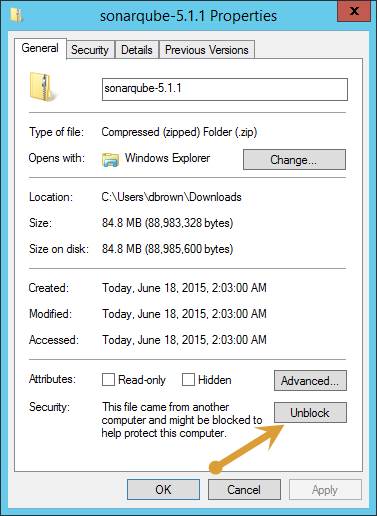
With the file unblocked extract all the files to where you
want to install SonarQube. Now we are going to configure SonarQube to use
our SQL Server. In the conf folder of the SonarQube installation open the
sonar.properties file in a text editor. Find the section for Microsoft
SQLServer 2008/2012 and uncomment out the sonar.jdbc.url line. Update
"/sonar" to match the name of the database you created. We also need to
add two lines for the username and password to connect to SQL Server.
sonar.jdbc.username={yourUserName}
sonar.jdbc.password={yourPassword}
sonar.jdbc.url=jdbc:jtds:sqlserver://localhost/{yourDatabaseName};SelectMethod=Cursor

Now we need to open a command prompt as administrator so we
can install SonarQube as a service. With the command prompt open CD to
the bin\windows-x86-64 folder of the SonarQube installation folder. Now
run the InstallNTService.bat file. Because SonarQube depends on SQL
Server we are going to setup a dependency on SQL Server for our SonarQube
Service. In the command prompt execute the following command
sc config SonarQube depend= MSSQLSERVER
We also need to update the login account used for the
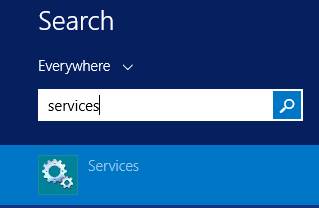
service. To do that open the services application.
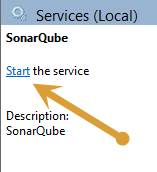
Now open the properties page for the SonarQube service.
Click the Log On tab and select the This account radio button. Enter the
account used to log into your VM and click OK. Now start the service by clicking
the Start the service link.
The final step is to open ports on the Windows firewall so
we can access the SonarQube server and SQL from outside the machine. Return to
the command prompt and simply run the following commands to add the firewall
rules.
netsh advfirewall firewall add rule name="SQL"
dir=in action=allow protocol=TCP localport=1433
netsh advfirewall firewall add rule name="Sonar" dir=in action=allow
protocol=TCP localport=9000
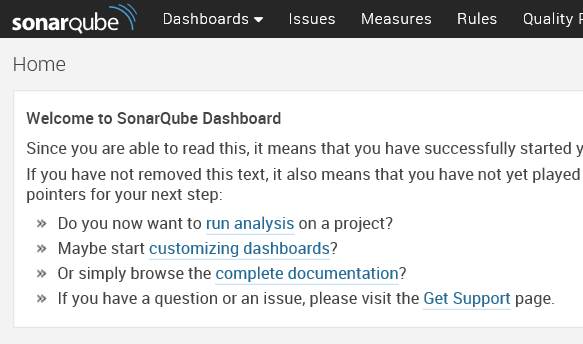
Using any browser you should now be able to access your
SonarQube server using the fully qualified name of your Azure VM.
In future posts I will show you how to use Build vNext to use
SonarQube with a Java project with Maven.