Problem:
I can no
longer connect to my 2014 Series 1 Type A Machines 3d Printer.
Solution:
Flash the SD
Card. The trick to flashing the SD Card
is first finding it! I had never had to
take my printer apart so I had no idea where the SD Card was or even if I had
to be removed or not to be flashed. The
manual for the printer makes no reference to how to perform this procedure or
how to locate the SD Card.
First thing
you are going to want make sure you have is some way to connect the micro SD
Card to your machine. I purchased the Kingston
Digital Multi-Kit/Mobility Kit 8 GB Flash Memory Card with Reader MBLY10G2/8GB
off of Amazon. You are also going to
need a fresh copy of the image and software to write the image to the SD
Card. I am using a PC so I used the
Win32 Disk Imager. You can download the image from here. You can read more about these items from the Type A
Machines Forum. Install the Win32
Disk Imager and extract the zip file you downloaded from the image site.
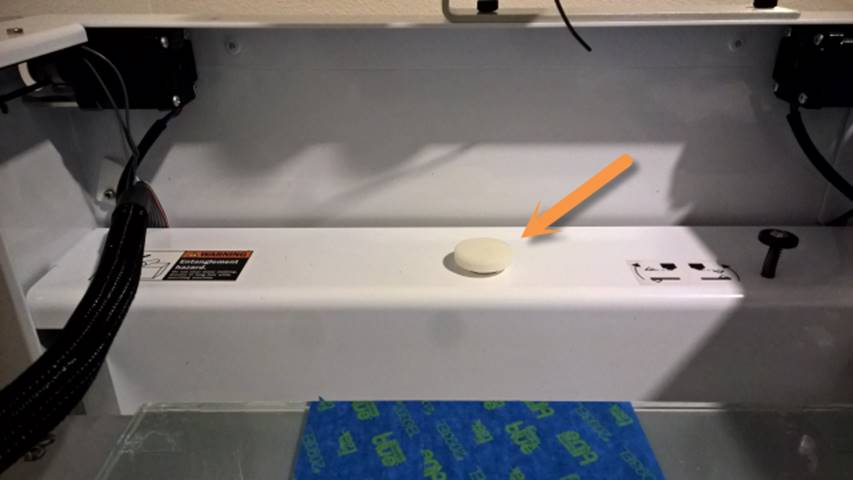
Now let’s get that SD Card out of the printer. Using the white nob at the top of the printer
raise the platform so you can access the four screws holding the white piece of
plastic to the base of the printer.
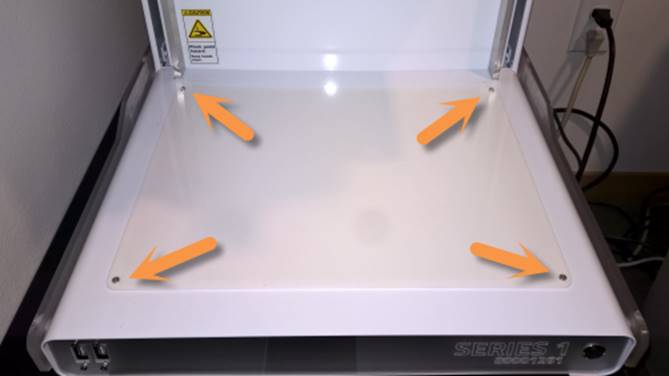
Once you
remove the plastic cover you will be able to see the components that drive your
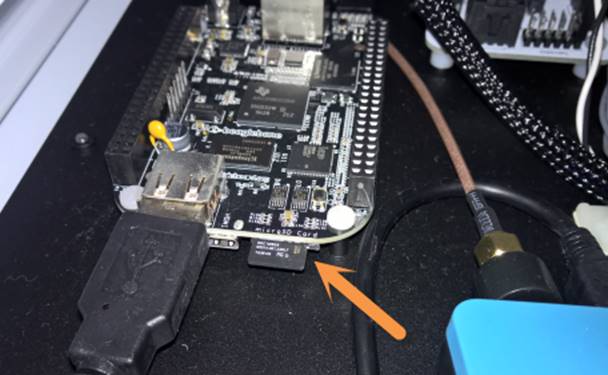
printer. In the lower left hand corner
is the microprocessor that has SD Card.
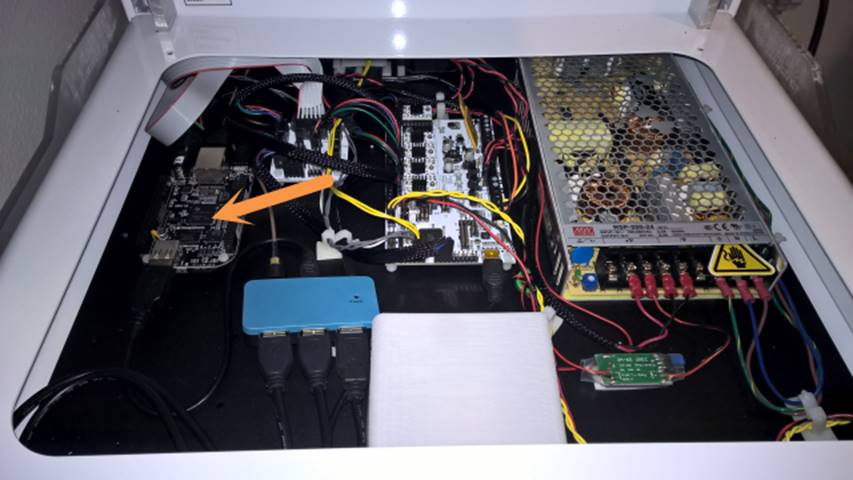
The SD Card
can be removed my gently pressing it in so that is pops out.
Place the SD
Card into one of the adapters and insert it into your PC. Make sure you run the Win32
Disk Imager as administrator. You can do
this by right clicking on the shortcut and selecting run as administrator. With the application running browse to the
folder that has the img file in it and select the driver for the SD Card. Now click the Write button and wait for the
process to complete.
Now simply reverse the steps by replacing the SD Card
and replacing the plastic cover and screws.